


Beyond the Bulb: Master Guide to Headlight Assembly Troubleshooting | DIY
When a vehicle's "eyes" go dark or blurry, many owners jump to conclusions. However, a headlight assembly is a sophisticated component where optical, mechanical, and electrical systems intersect. Replacing the entire unit without a proper diagnosis is a common and expensive mistake. Below is a professional guide to identifying headlight failure symptoms and applying a systematic protocol to ensure the assembly itself—and not a minor electrical component—is the root cause.
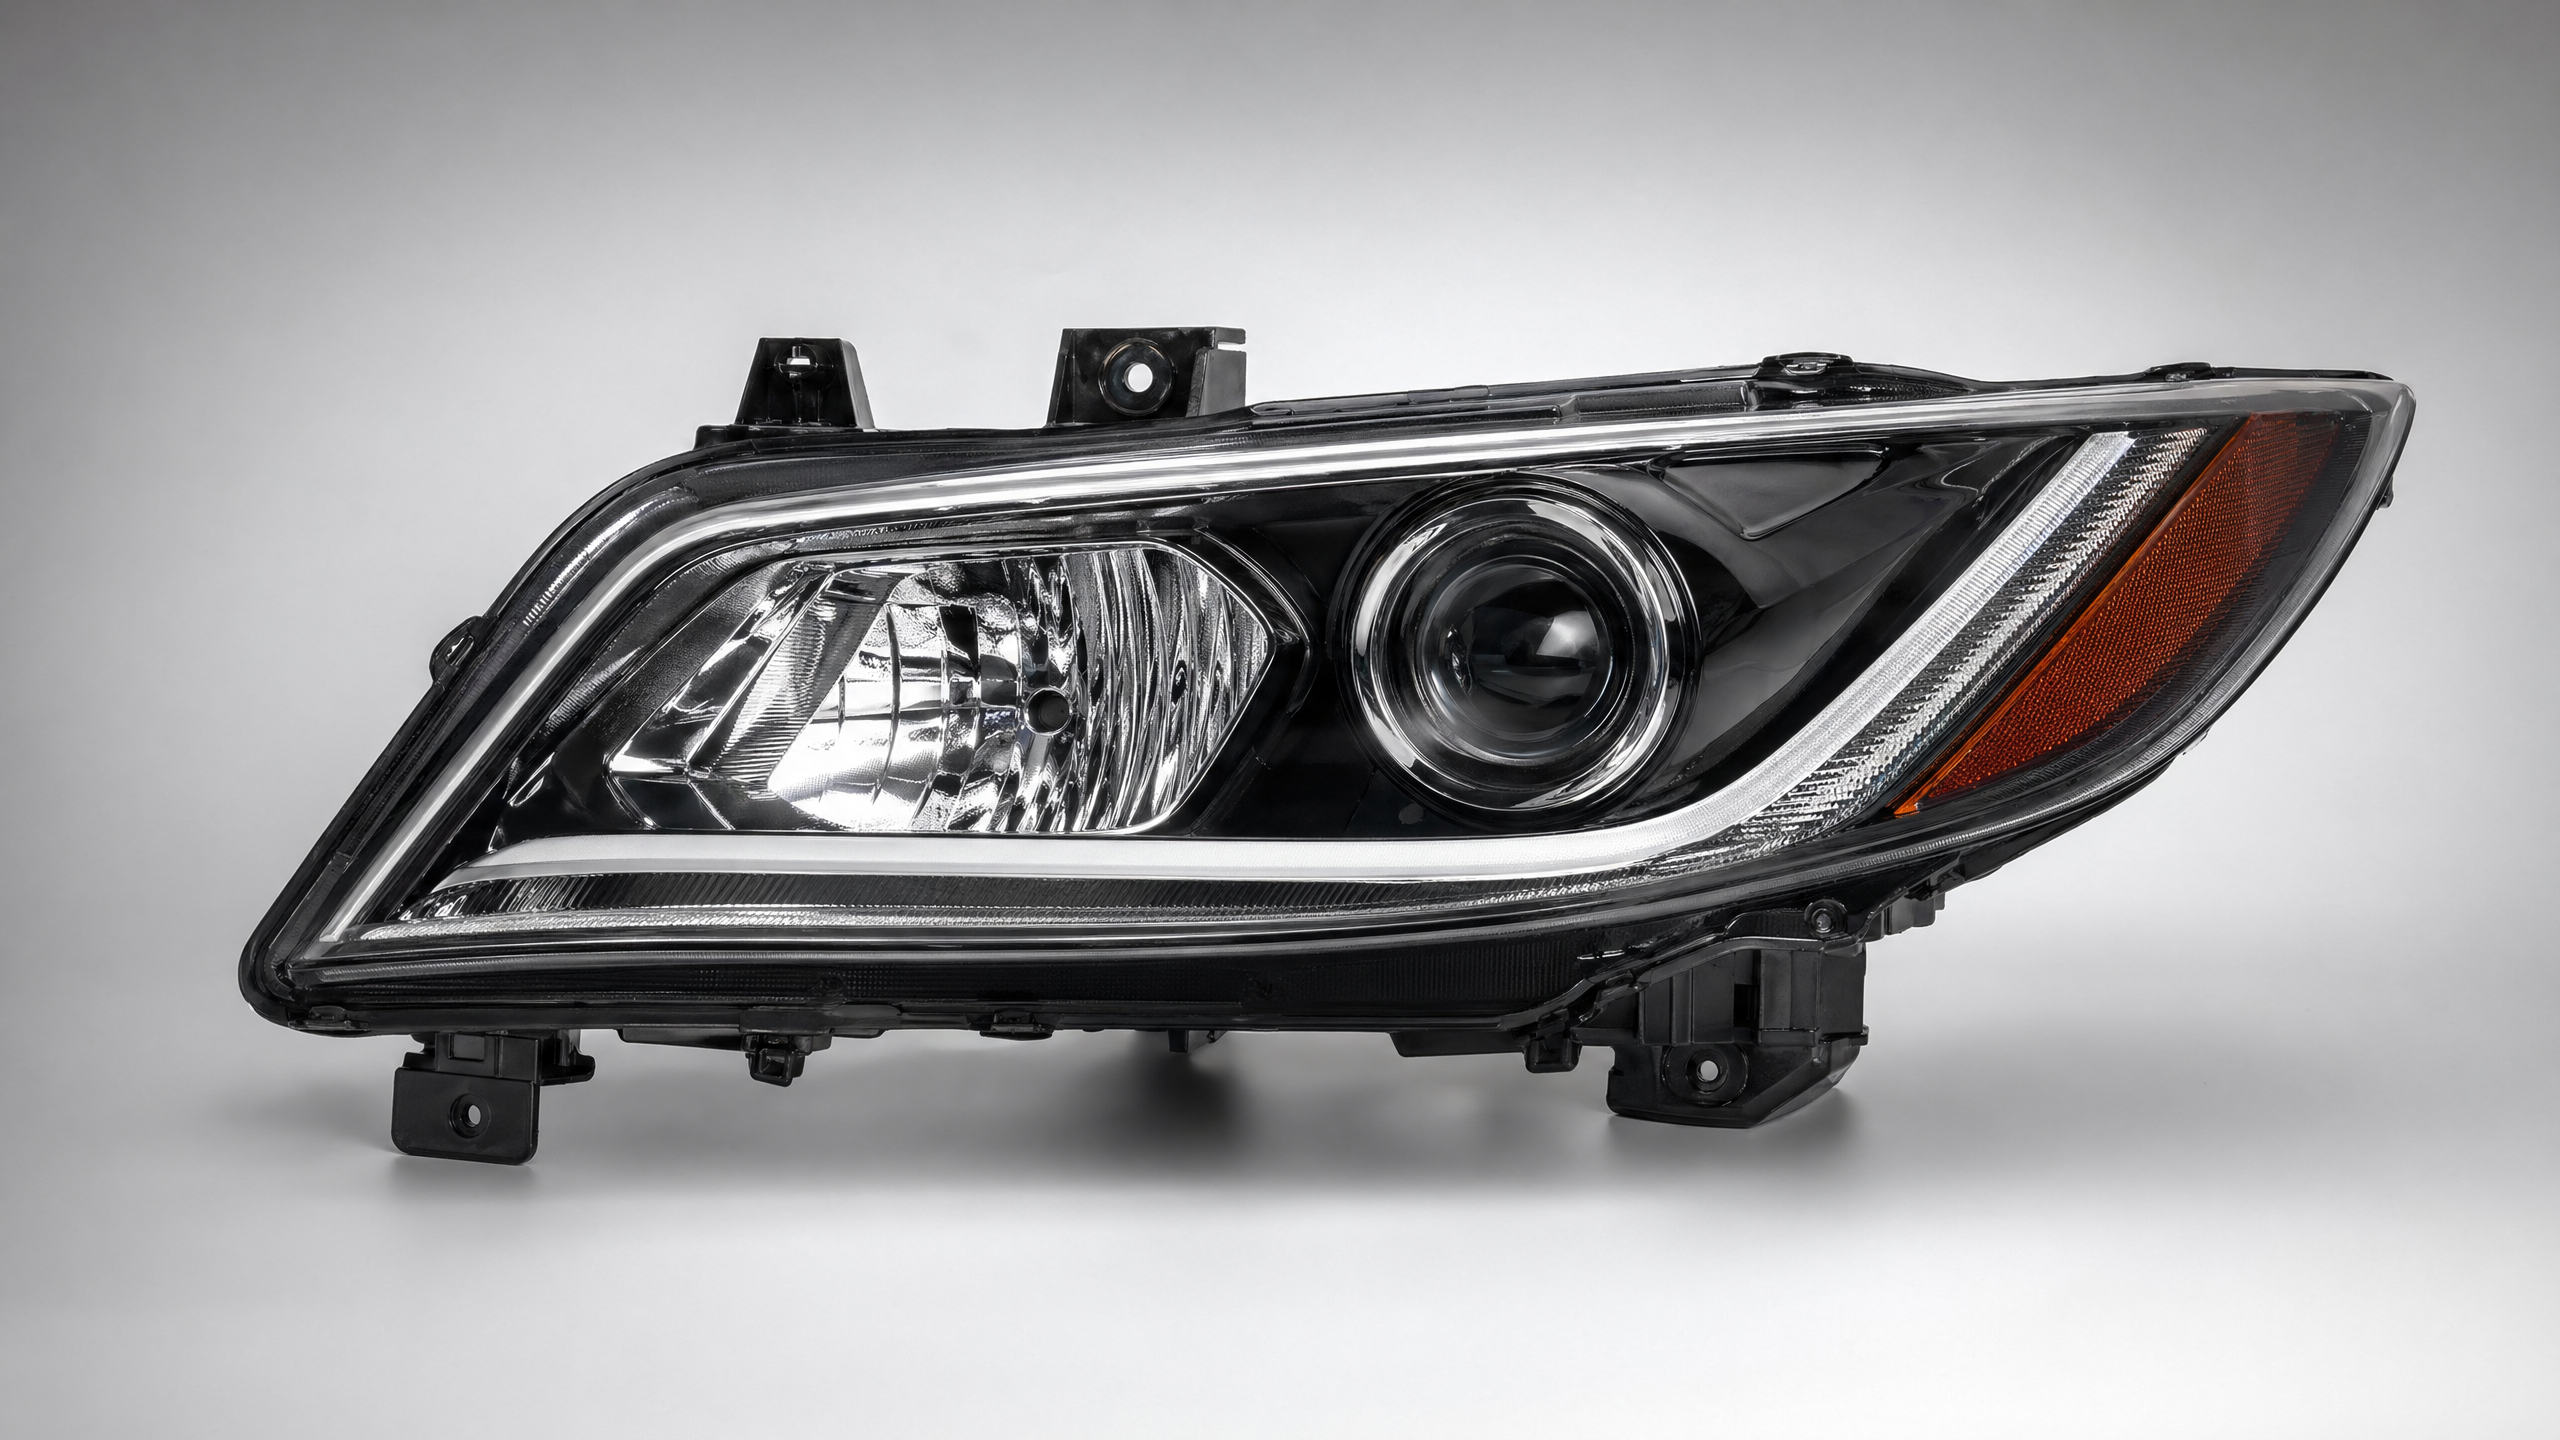
Common Symptoms of Headlight Assembly Failure
Before diving into the tools, look for these "red flags" that specifically point toward the housing:
- Internal Condensation & Moisture: Water droplets or heavy fogging inside the lens, often indicating a perished seal or a cracked housing. This is a frequent issue on high-mileage 2016-2022 Honda Civics or vehicles in coastal climates.
- Yellowing or "Hazing": UV degradation of the polycarbonate lens that reduces light output and beam clarity. If your Toyota Camry or Ford F-150 headlights look cloudy, the lens material has reached its limit.
- Physical Vibrations: The light beam "shaking" while driving, usually caused by broken internal mounting brackets or adjuster clips. This is a common fatigue point for Chevy Silverado work trucks.
- Targeting Issues: The beam points too high, too low, or to the side, and does not respond to manual adjustment screws.
- Intermittent LED Strips: In modern assemblies, if the integrated LED "signature" lighting flickers while the main bulb works, the internal LED driver or board is likely failing. This is critical for BMW 3-Series or Audi A4 owners with premium lighting packages.
Step 0: Initial Assessment & Safety Check
Before you start, determine if this is a "Garage Tea" DIY or a "Professional Shop" project.
- DIY Path: Standard 1:1 halogen or LED assembly replacement involving basic bolts and plug-and-play connectors. This applies to most base-trim Jeep Wranglers or Nissan Altimas.
- Professional Path: Vehicles with Active Bending Lights (AFS) or high-voltage HID systems.
- If the job requires recalibrating the vehicle's computer (ECU) or handling high-voltage ballasts, safety risks are significantly higher.
Step 1: Upstream Power Inspection
Never install a new assembly until you've cleared the "upstream" power supply.
- Check Fuses & Relays: If both headlights are out, it is rarely the assemblies failing simultaneously; it is almost always a blown fuse or a faulty relay.
- Inspect Connectors: Look for "thermal damage" (melted plastic) or corrosion on the harness plug. A bad connection can mimic a dead assembly.
Step 2: Electronic Signal Analysis (DTC)
For modern cars with CAN-bus systems, use an OBD2 scanner to check for Body Control Module (BCM) codes. Specific codes like "Headlight Circuit Open" or "Communication Lost with Headlight Module" help confirm if the issue is a wiring break or an internal electronic failure within the assembly. This digital check is mandatory for late-model Tesla or Mercedes-Benz vehicles.
Step 3: Sensory & Physical Verification
Use your senses to locate the physical damage.
- The "Shake" Test: Gently shake the assembly; if you hear plastic rattling inside, the internal reflectors are broken.
- The "Wall" Test: Shine the lights against a flat wall. If the "Cut-off Line" is blurry or scattered despite a new bulb, the internal optics (projector/reflector) have degraded.
Step 4: Confirming the "Smoking Gun"
Look for the "ironclad evidence" that a replacement is necessary.
- Seal Integrity: Look for hairline cracks in the clear lens or the black housing. Even a tiny crack leads to moisture ingress.
- Mounting Tabs: Check the plastic "ears" that bolt to the frame. If these are snapped—often after a minor bumper rub on a Hyundai Elantra—the assembly cannot be safely secured.
Step 5: The "Right Fit" Verdict
Match your findings to the most cost-effective solution and ensure you have the exact match:
- Scenario A: Lens is clear but internal brackets are broken → Full Assembly Replacement Required.
- Scenario B: Moisture is present but lens is perfect → Check breather caps first, then consider replacement if seals are blown.
- Precision Matching: Always verify your Year-Make-Model (YMM) attributes, including submodel and trim, to ensure the replacement SKU matches your vehicle's specific wiring and mounting points.
Understanding Technology Variations
The complexity of your "Headlight Assembly" depends heavily on your vehicle's trim level:
| Feature Type | Diagnostic Complexity | Pro Note |
|---|---|---|
| Halogen Reflector | Low | Simple bulb-and-housing setup. Easy DIY. |
| HID/Xenon | Medium | Includes a Ballast. Failure might be the ballast, not the assembly. |
| Full LED/Matrix | High | Completely sealed units. If one LED diode dies, the entire assembly must be replaced. |
| AFS/Adaptive | High | Contains internal motors that turn with the wheel. Requires software to "aim" after install. |
Disclaimer: Our Mechanic Advisor provides information for educational purposes only and not as professional automotive advice. DIY repairs involve risks. If unsure, consult a certified mechanic. We guarantee part fitment based on your selected vehicle details, but are not responsible for misdiagnosis or damage resulting from use of this guide.
